






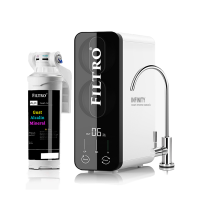
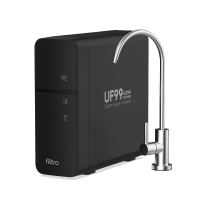
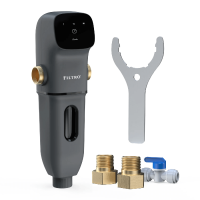














Reverse Osmosis
View all products
-
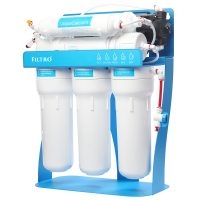
 Reverse osmosis without pump
-
Reverse Osmosis with Pump
-
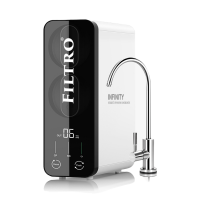
Direct Flow Reverse Osmosis
-
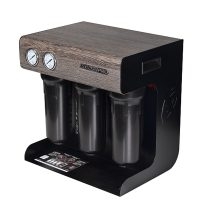
Professional reverse osmosis
-
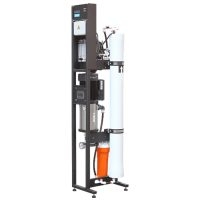
Industrial reverse osmosis
-
Reverse osmosis with twist cartridges
Recommended products
View all-
Osmoza inversa direct flow, FILTRO INFINITY Alk+ DF800, alcalinizare prin mineralizare, debit mare de 800GPD, fara bazin, pompa booster, baterie smart
-
Osmoza inversa direct flow, FILTRO INFINITY+ DF1000-ALK3, cu alcalinizare prin mineralizare, debit mare de 1000GPD, fara bazin, pompa booster, display TDS
-
Osmoza inversa direct flow, FILTRO INFINITY+ DF1000, debit mare de 1000GPD, fara bazin, pompa booster, display TDS, cartuse cu sistem twist
Filtration systems
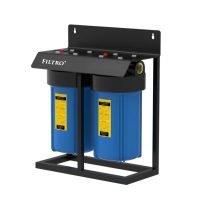
Filter Housings
View all products
-
Big Blue/Clear 10
-
Classic 10" Housings
-
Big Blue/Clear 20
-
Hot water housings
-
Transparent Housings
-
Filter Housing Sets
Recommended products
View all-
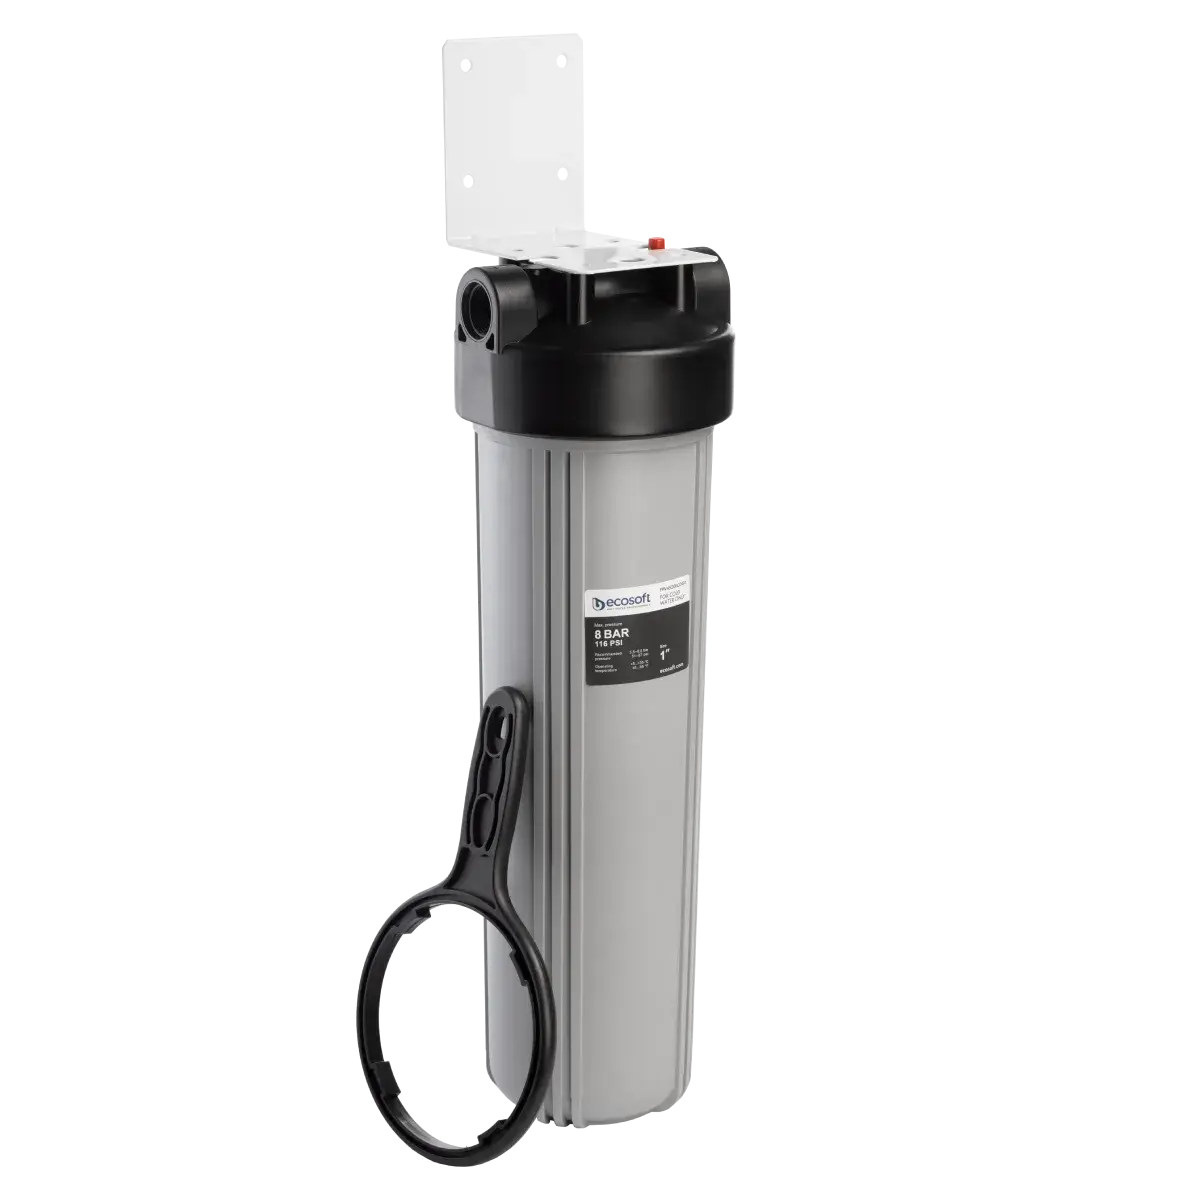
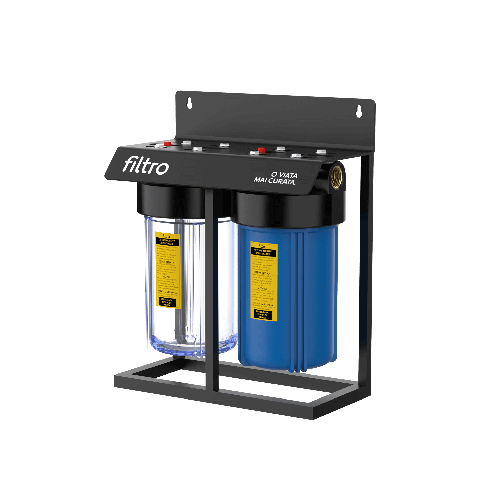
Carcasa de filtrare, Ecosoft FPV4520, BIG BLUE 20", culoare gri, conexiune 1" din alama, cheie strangere, supapa presiune si suport metalic
-
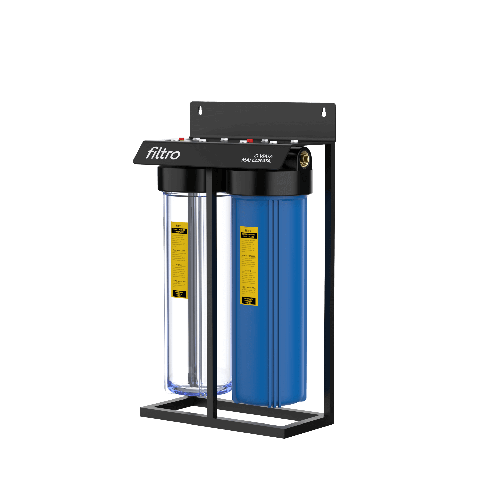
Set 2 carcase mixte, BIG BLUE 20" TWIN MIX , conexiune 1" din alama, cheie, supapa presiune si cadru metalic
-
Set 2 carcase mixte, BIG BLUE 10" TWIN MIX , conexiune 1" din alama, cheie, supapa presiune si cadru metalic
Automatic systems
View all products
-
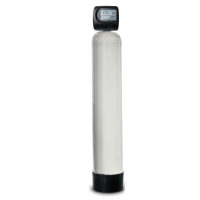
Filtration stations
-
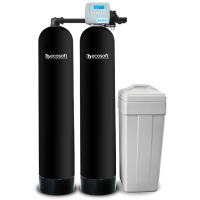
Duplex water softening systems
-
Simplex water softening stations
-
Cabinet water softeners
Recommended products
View all-
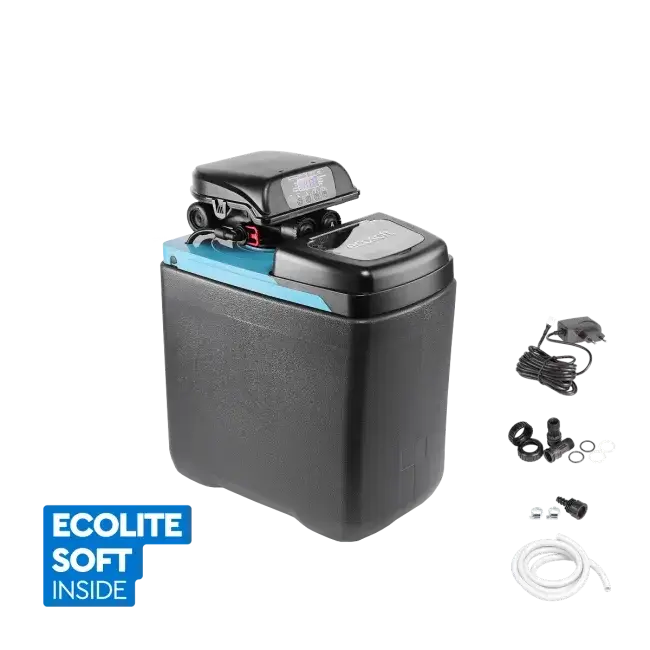
Statie compacta dedurizare, FILTRO Blue 150, valva Clack DV, 15 litri rasina, 54 cm inaltime, debit 1.5 m3/h, 2-4 persoane
-
Statie compacta dedurizare, Ecosoft Core 110, valva Clack DV, 11 litri rasina, 47 cm inaltime, debit 1.2 m3/h, 1-3 persoane
-
Statie dedurizare, Ecosoft Anthracite Azure 370, 37 litri rasina, cabinet gri-verde
Consumables
View all products
-
Big Blue 20 Cartridges
-
Big Blue 10 Cartridges
-
Reverse Osmosis Membranes
-
Filters with housing
-
Classic Cartridges
-
Filter Sets
-
Filters with twist system
-
Ultrafiltration Membranes
-
Filter Jug Cartridges
-
Filter media
-
Refrigerator filters
-
Replacement UV Lamps
Recommended products
View all-
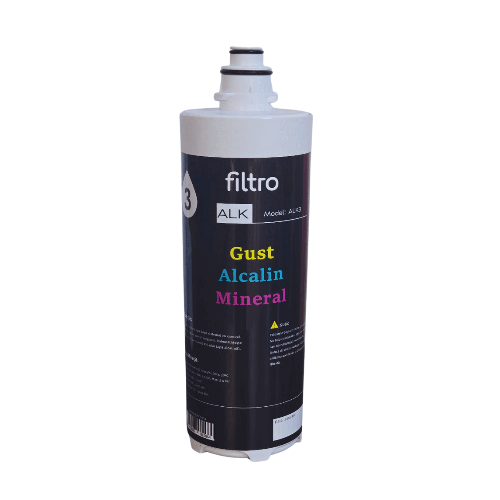
Filtru de schimb cu carcasa pentru FILTRO ALK3, sistem de alcalinizare si mineralizare
-
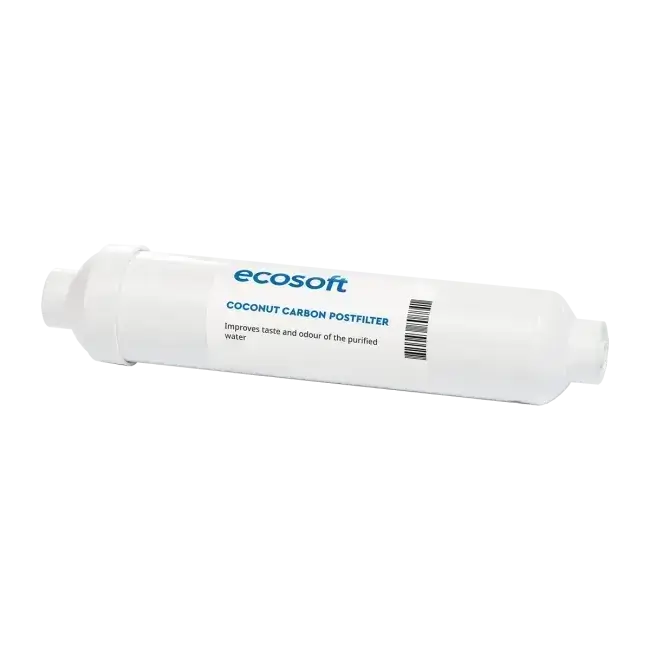
Filtru inline din cărbune activ granular pentru postfiltrare osmoză inversă, Ecosoft CHV2010, din coajă de nucă de cocos, conectori rapizi 1/4", dimensiuni 10.8"x2", compatibil cu furtun flexibil de 1/4
-
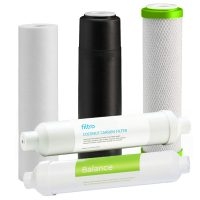
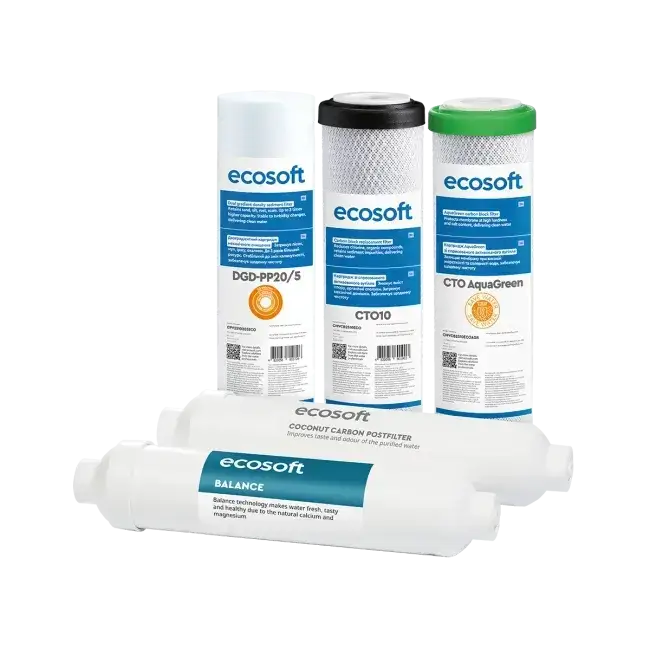
Set balance intermediar, 5 cartușe osmoză inversă premium, prefiltrare, postfiltrare și mineralizare Ca+Mg, 6 luni, standard 10"
Accessories
View all products
-
Bottles and Thermos Flasks
-
Tools & Instruments
-
Anti-condensation covers
-
Aerators
-
Soda makers
-
Water Tests and Measuring Equipment
-
Dual Faucets
-
Simple faucets
-
3-Way Faucets
Recommended products
View all-
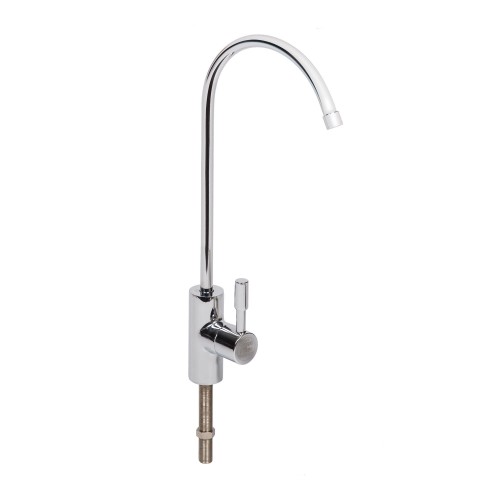
Baterie modernă simplă, FILTRO Modern Chrome, finisaj crom lucios, din alamă cu cartuș ceramic, monocomandă, conectare rapiă 1/4"
-
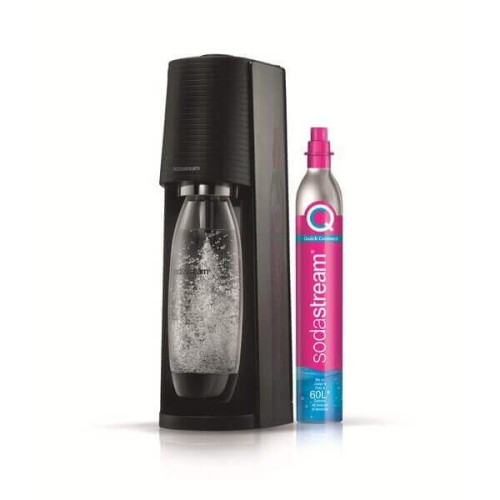
Aparat de sifon, SodaStream Terra Black, cu butelie de CO2 si sticla quick connect
-
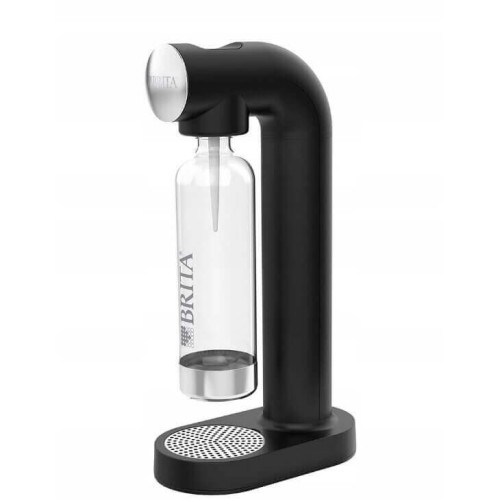
Aparat de sifon, BRITA SodaOne Negru, sticla 1 litru inclusa si butelie de CO2 cu filet



 by Andrei Ceauru