

















Categories
  • FILTRO Family
    FILTRO Family

    FILTRO Family


    Installing and Configuring Household Water Filters: A Complete Guide to Filtration and Softening Systems

    Learn how to properly install and configure a water filtration system or water softener. A complete guide covering filter types, control valves, regeneration, and installation requirements.

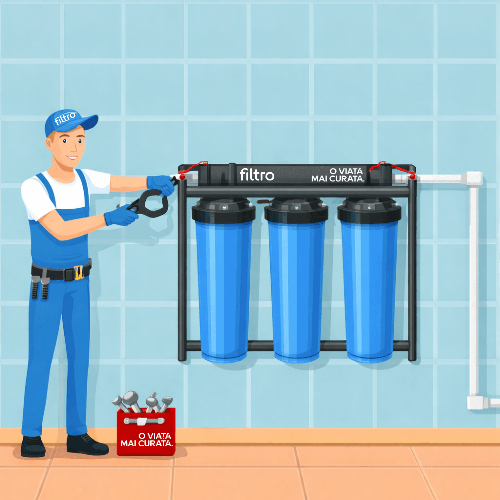
    Many of our customers ask about the installation and maintenance of household water filters. In this article, we will explain how to properly install and configure a water purification system and its control automation.

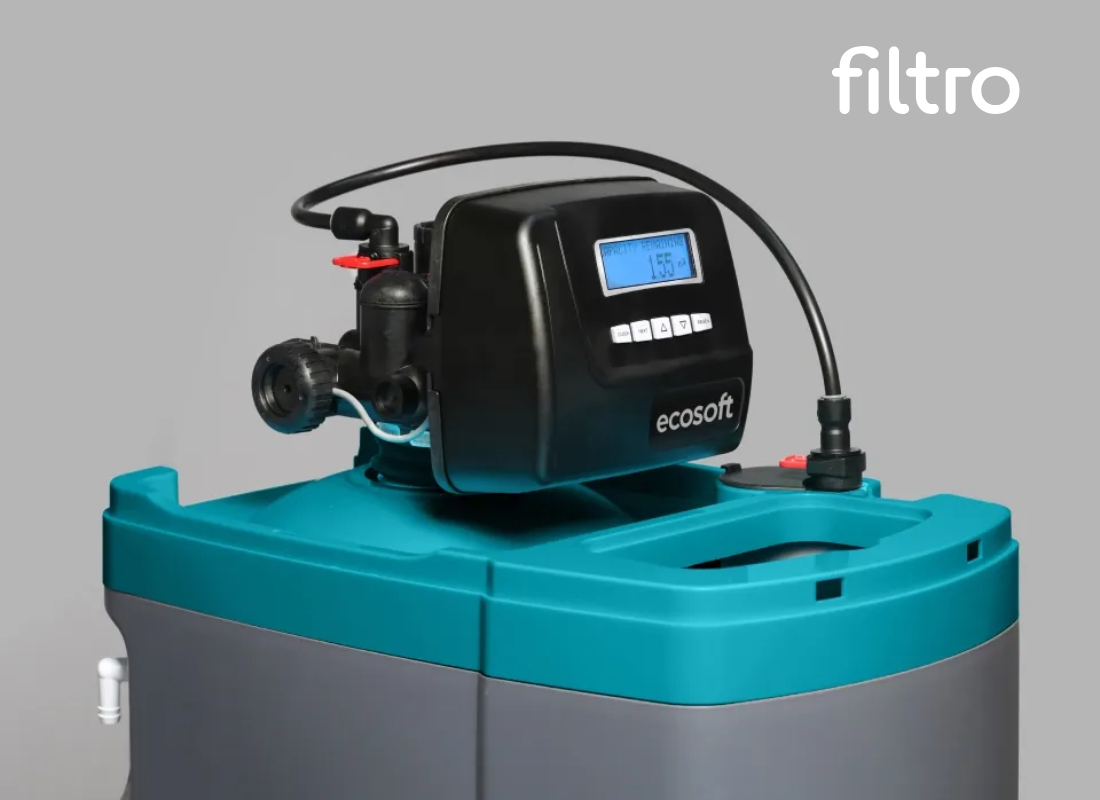
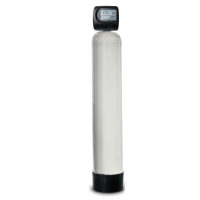
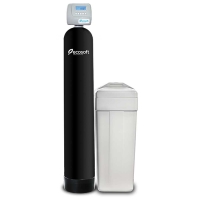
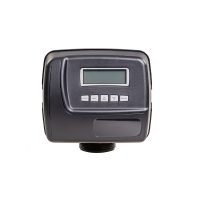
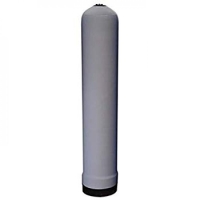
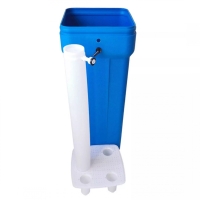
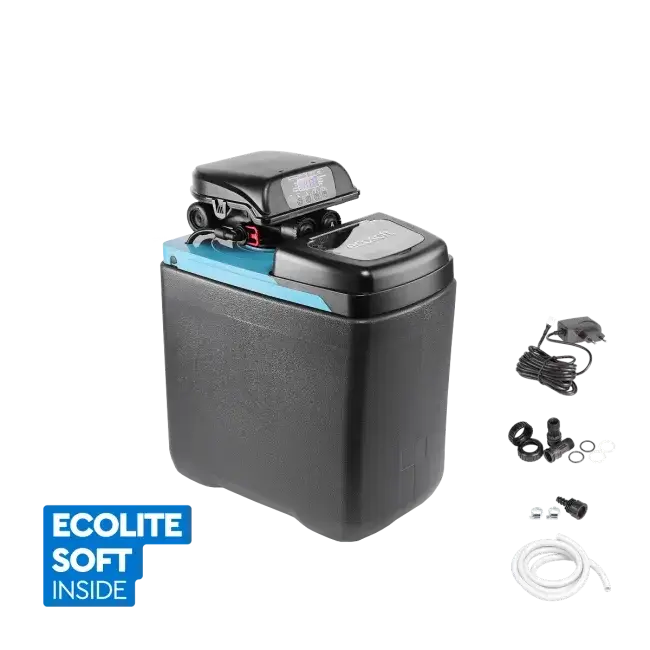
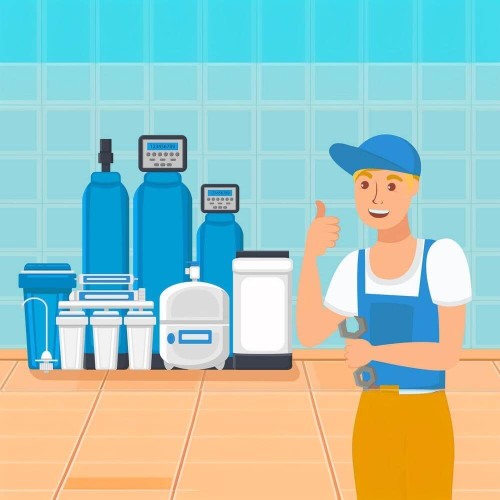
    A water filtration system consists of a fibreglass tank filled with filter media. Inside, there is a drainage and distribution system that allows water to pass through the filter media. The system is controlled by an automatic valve mounted at the top of the filter. Water softeners and complete water treatment systems also include a brine tank, which is used for regenerating the filter media and is connected to the control valve.

    Decoding Filter Types and Their Contents

    The filter type and its contents can be identified from the product name:

    Filtration System Type

    Abbreviation

    Purpose

    Filter Media

    Single water softener

    FU

    Water softening

    Ion exchange resin

    5-in-1 water softener

    FK

    Multifunctional treatment

    Ecomix A/C/P

    Automatic mechanical filter

    FP

    Sediment removal

    Ag+ filter

    Automatic carbon filter

    FPA

    Removal of chlorine and organic matter

    Activated carbon

    Hydrogen sulphide filter

    FPC

    Hydrogen sulphide removal

    Centaur catalytic carbon

    The filter housing size is represented by four digits, where the first two indicate the diameter and the last two indicate the height in inches.

    Control Valve Types

    Two letters following the housing size indicate the type of control valve:

    • Clack CE, CI and CT are piston valves with a gate mechanism.

    • Clack DV features a rotating disc mechanism that blocks or opens the water flow perpendicularly.

    System-Specific Names

    Some filters have additional specifications:

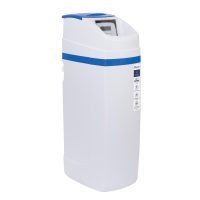
    • Cab – Cabinet-style filter, where the brine tank is integrated with the main body.

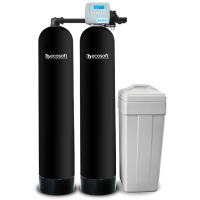
    • Twin – A dual-tank system operating sequentially: one tank is in service while the other regenerates or remains on standby.

    • Duplex – Two parallel filters working continuously and adapting to the required water flow.

    How the Filter Valve Works

    Clack CT valves are used in reagent-free systems (carbon and mechanical filters) and operate through three regeneration stages:

    1. Service mode – Water flows through the filter media and exits as purified water.

    2. Backwash – Water flows from bottom to top, loosening the filter media and flushing contaminants to drain.

    3. Fast rinse – Water flows downward to compact the media and remove residues.

    Clack CE, CI and DV valves include two additional stages:
    4. Brine rinse – Water flows through a brine injector, mixes with the salt solution and passes through the media for regeneration.
    5. Brine tank refill – The system refills the brine tank for the next regeneration cycle.

    Preparing for Installation

    The installation area must be suitable for the filter dimensions, located indoors, protected from extreme weather conditions and direct sunlight, with a temperature between 5–40°C and relative humidity below 80%. The area must be free of corrosive chemical vapours and airborne particles.

    Water Supply Requirements

    • Pressure: 2–6 bar

    • Temperature: 4–30°C

    • Pre-filtration: Particles smaller than 100 microns must be removed using a cartridge filter or backwash filter.

    Electrical Supply Requirements

    • Voltage: 230V, 50Hz

    • Power consumption: 6 VA

    • Socket type: Schuko (European standard)

    Filter Installation Steps

    1. Position the tank on a flat, solid surface.

    2. If installing a standard filter, insert the central tube with the lower drain cap facing down, so that the top aligns with the tank opening.

    3. If installing a cabinet unit, disconnect the 3/8” salt hose from the elbow fitting on the valve.

    4. Secure the upper drain cap in the valve groove and insert the tube into the drain opening.

    5. Attach a 3/4” or 1” drain hose to the drain elbow and connect it to a non-pressurised drain pipe.

    For systems with a brine tank:

    1. Position the brine tank next to the filter tank.

    2. Connect a 3/8” hose from the salt valve fitting to the brine well inside the brine tank.

    3. Fill the brine tank with tablet salt, ensuring that at least 50% of the tank volume is filled.

    4. Install the mounting fittings and connect them to the valve ports, ensuring the correct direction of water flow.

    5. Connect the system to the water supply.

    6. Initiate a manual regeneration cycle by holding the REGEN button for 3 seconds, allowing air to be purged from the system.

    7. Once water begins to flow through the drain hose, fully open the inlet valve.

    8. Check for leaks and address any issues found.

    9. Allow the system to complete one full regeneration cycle, then run another one for optimal performance.

    Configuring Clack CE and Clack CI Control Valves

    After installing the system, enter settings mode by holding the NEXT button for three seconds.

    Use the up and down buttons to adjust the following parameters:

    • Language (available for CE valves only)

    • Inlet water hardness

    • Regeneration duration and frequency

    • Time of day for delayed regeneration

    • Automatic screen off after five minutes of inactivity for energy saving

    Navigate between options using the NEXT button.

    To set the current time, press the CLOCK button and adjust it using the up/down arrows. Confirm by pressing CLOCK or NEXT. The time is now set.

    Clack DV Filter Valve Settings

    To enter the settings menu, press and hold the ↳ and △ buttons simultaneously for three seconds.

    • The  button saves the settings.

    • The up and down buttons adjust the values.

    Adjust the following parameters:

    • Water hardness (in ppm or mg/L)

    • If your filter includes a mixing valve, set the working hardness (the default is zero)

    • Regeneration frequency

    • Preferred regeneration time

    Clack CT Valve Settings

    To enter the settings menu, press SET and ▲ simultaneously.

    Adjust the following parameters:

    • Regeneration time, using the up/down buttons

    • Current day of the week (Sunday is the default start of the weekly cycle)

    • Select the day(s) for regeneration (indicated by an arrow)

    • Disable regeneration on specific days, if required

    Pressing the SET button will save the settings and exit the menu.

    If your valve supports “Once every 99 days” regeneration, you will be prompted to select the interval. This interval is specified in the valve's detailed manual. Set the regeneration frequency and enter the current time in hours/minutes format.

    Featured products

    Recommended products for a cleaner life

      + Gift

    Your browsing history

    Roata REDUCERILOR!

    Încearcă-ți norocul și poți câștiga reduceri (până la 50%) sau premii în produse.

    * Prin abonare ești de acord cu termenii site-ului și politica de confidențialitate.